 |
|||
|
|
|||
|
Page Title:
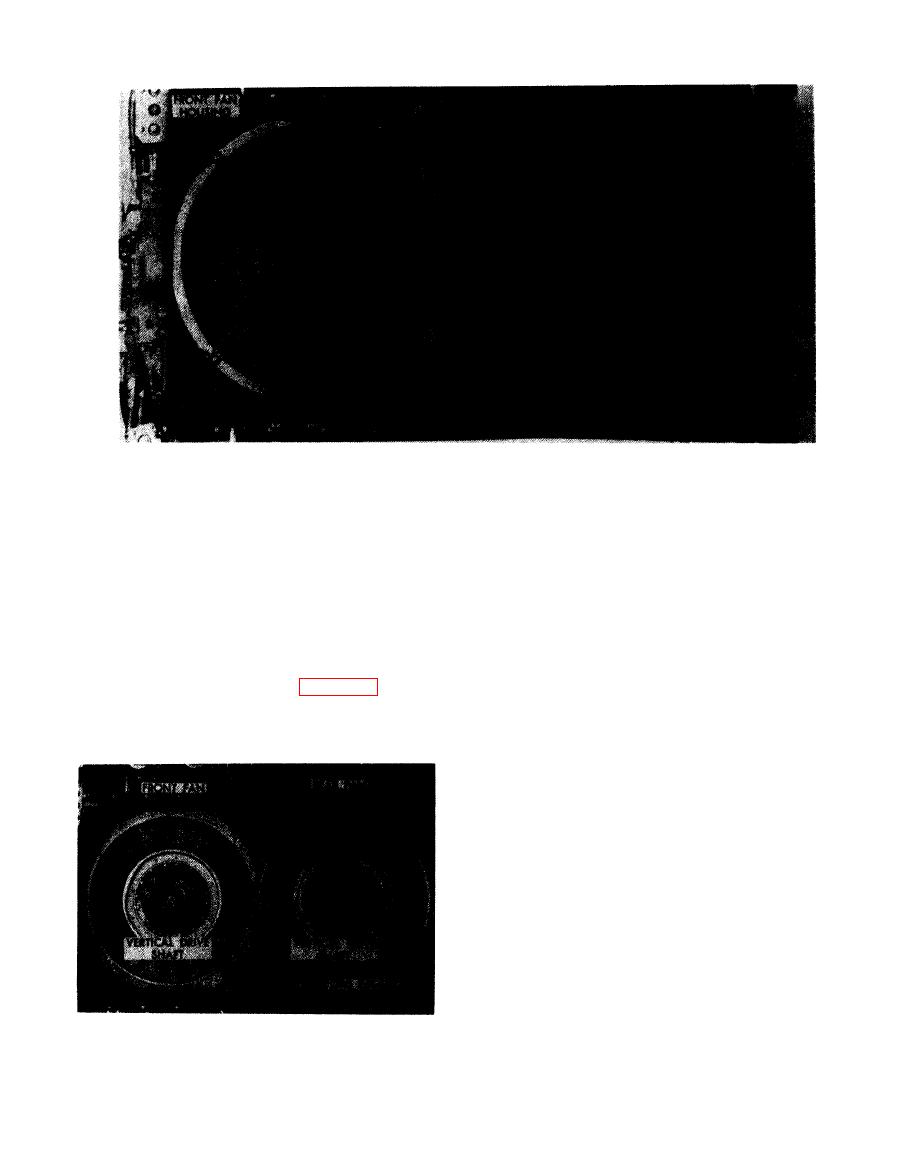
Figure 4-34. Removing or installing cooling fan vanes. |
|
||
| ||||||||||
|
|
 fan housing mounts lower into the cooling fan
Remove
1. Remove two bolts (A) and lock washers.
shroud and takes the narrow lip cooling fan
2. Remove two cap screws (B) and lock washers and
v a n e . B e s u r e t h e w i d e l i p is not i n s t a l l e d o n t h e
remove cooling fan vane from front fan housing.
front fan housing as this will interfere with the
3. Remove two bolts (C) and lock washers.
fan
and
cause
damage
to
both
fan
and
vane
4. Remove two cap screws (D) and lock washers and
remove cooling fan vane from rear fan housing.
housing.
Install
1. Position cooling fan
vane in rear fan housing and
Note. When installing the cooling fan vanes, it
install two cap screws
(D) and lock washers.
is important that the proper cooling fan vane is
2. Install two bolts (C)
and lock washers.
3. Position cooling fan
vane in front fan housing and
installed on the correct fan housing. The rear fan
install two cap screws
(B) and lock washers.
housing (flywheel end) mounts noticeably higher
4. Install two bolts (A)
and lock washers.
than the front fan housing and takes the wide lip
cooling fan vane (item 3, fig. B-25). The front
Remove
1. Remove cotter pin, slotted nut (A), and flat washer.
Discard cotter pin.
2. Remove front cooling fan and hub assembly (B) from
vertical drive shaft.
3. Remove rear cooling fan and hub assembly (C) in the
same manner.
Install
1. Position front cooling fan and hub assembly (B) on
vertical drive shaft.
2. Install flat washer, slotted nut (A), and new cotter pin
securing fan and hub assembly.
3. Install rear cooling fan and hub assembly (C) in the
same manner.
4-35.
Removing
or
installing
cooling
fans.
4-18
|
|
Privacy Statement - Press Release - Copyright Information. - Contact Us |