 |
|||
|
|
|||
|
Page Title:
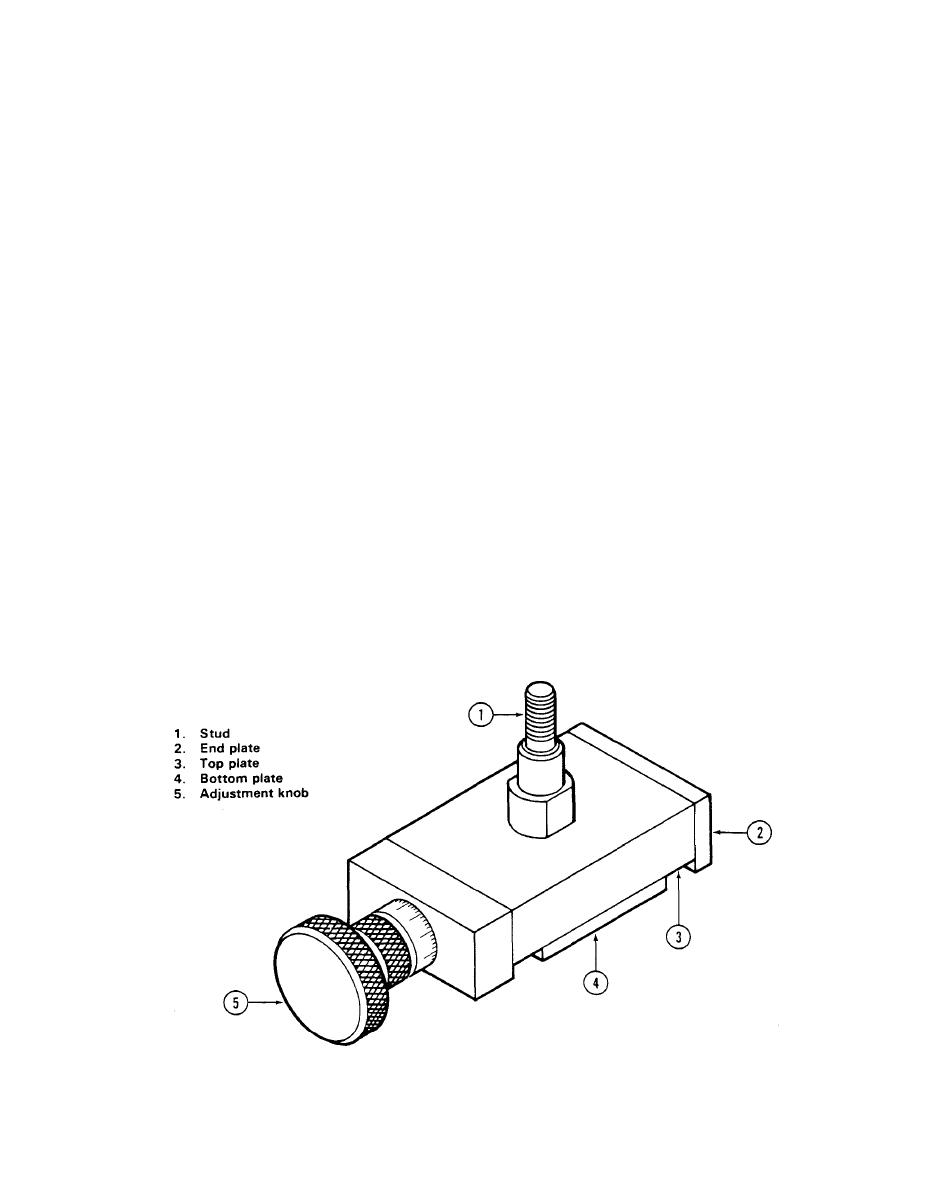
Figure 3-2. Slider Assembly (Typical) |
|
||
| ||||||||||
|
|
 TM 9-4931-583-30&P
(k) Install one washer (28) on each stepped
(d) Position slider assembly (21) on upper
stud (32) and (37) on fixed frame.
center bracket of frame (39). Reinstall any shims, that
were removed, in same location between slider and
bracket. Fasten slider and shims with four screws (15)
NOTE
and washers (17).
If stepped studs (32 and 37) do not align with
(e) Position bracket (25) to bottom of frame
holes in frame (39), the stepped studs will be
and install bolt (24) and nut (20). Do not tighten nut at
repositioned by installing, removing, or re-
this time.
locating shims between slider mounting
surface and frame mounting surface (step
(f) Position bracket (19) against bottom of
m. below). Four shim thicknesses are pro-
bracket (25) and fasten to frame with three screws (16)
vided:
and washers (17).
(g) Tighten bolt (24) and nut (20).
P/N 209-071-502-101 - 0.0005 inches.
P/N 209-071-502-103 - 0.001 inches.
(h) Repeat steps (e), (f), and (g) to install
P/N 209-071-502-105 - 0.0015 inches.
other bracket (25) and bracket (19).
P/N 209-071-502-107 - 0.002 inches.
(i) Position slider assembly (21) on right side
(l) With frame (39) turned so that sliders (21)
bracket (25). Reinstall any shims, that were removed,
face forward, position holes in upper corners of frame
in same location between slider and bracket. Fasten
over stepped studs (32 and 37) on fixed frame.
slider and shims with four screws (15) and washers (17).
(m) If holes do not align with stepped studs,
(j) Position slider assembly (21) on left side
reposition sliders studs by removing, installing or re-
bracket (25). Reinstall any shims, that were removed,
locating shims between slider and mounting surface
in same location between slider and bracket. Fasten
until holes align with studs. Tighten slider mounting
slider and shims with four screws (15) and washers (17).
bolts to ensure no movement of sliders.
3-6
|
|
Privacy Statement - Press Release - Copyright Information. - Contact Us |