 |
|||
|
|
|||
|
Page Title:
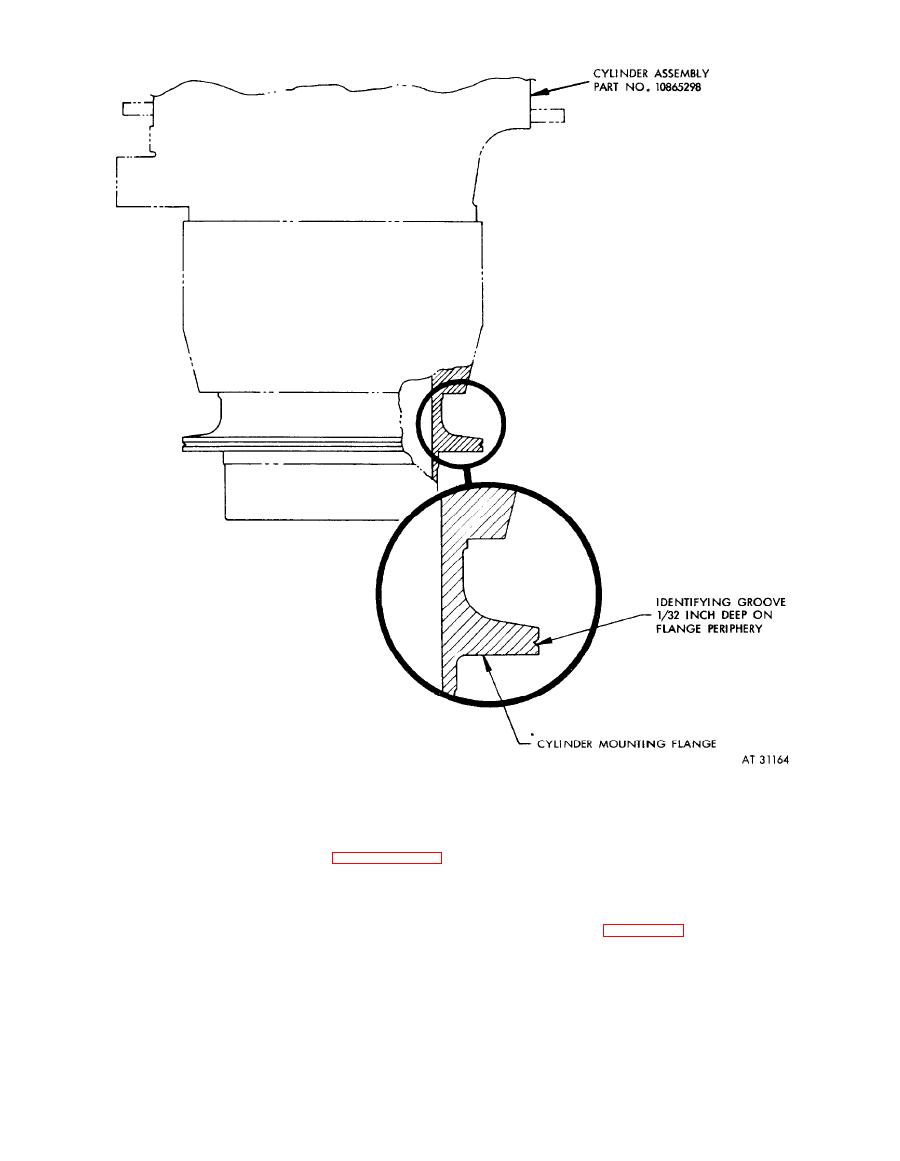
Figure 6-51. Cylinder identifying groove. |
|
||
| ||||||||||
|
|
 Figure 6-51. Cylinder identifying groove.
(1) C y l i n d e r b a r r e l . R e f e r t o p a r a g r a p h 6 -
temperature). The tapered section expands, and
3 2 . Ultrasonic Inspection of Cylinder Barrel, for
is essentially straight at operating temperature.
inspection procedures of the cylinder barrel.
Check bore dimensions, as described in (a)
(2) Cylinder bore. Inspect cylinder bore
through (d), below, against limits specified in
for deep scratches, scoring, or metal pickup.
overhaul standards (table 6-15).
I n s p e c t joint between cylinder head and cylinder
(a) With cylinder at room temperature,
b a r r e l for pitting or erosion. Carefully run finger
take two cylinder bore measurements at top of
over cylinder wall to check for ring ridge.
ring travel. Measure diameter approximately
parallel to line of valves, and then take cross
(3) C y l i n d e r b o r e d i m e n s i o n s . C y l i n d e r
bores taper slightly at the head end (a room
6-55
|
|
Privacy Statement - Press Release - Copyright Information. - Contact Us |