 |
|||
|
|
|||
|
Page Title:
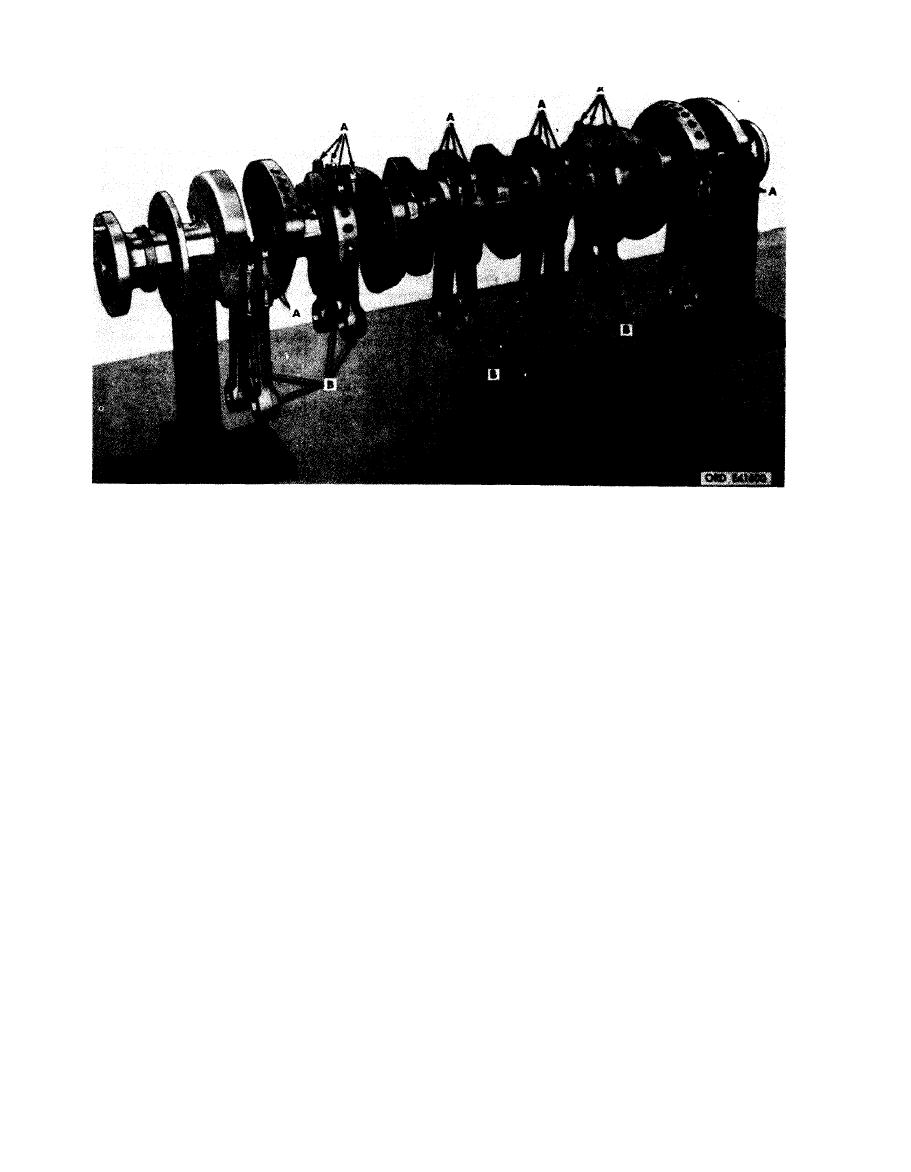
Figure 6-30. Removing or installing connecting rod assemblies. |
|
||
| ||||||||||
|
|
 Note. Do not use a scriber or other sharp
Note. Care must be exercised in the handling
of the connecting rods to avoid nicks and
instrument for marking connecting rod bearing
scratches which act as stress risers and can lead
halves.
After
are
removed,
reassemble
to premature failure.
connecting rods and caps since they are matched
2. Remove 24 connecting rod cap bolt nuts attaching rod
units and must be kept together for inspection
caps to connecting rods (B). Remove rod caps,
and installation.
bearings, and connecting rods from crankshaft.
1. Remove 24 cotter pins (A).
6-34
|
|
Privacy Statement - Press Release - Copyright Information. - Contact Us |