 |
|||
|
|
|||
|
Page Title:
Replacement of Helical-Coil and Threaded Inserts |
|
||
| ||||||||||
|
|
 thread inserts which do not fit securely in the
(1) Removal. Drill out bearing retaining
c a s t i n g or when casting threads have become
pins when used to secure bearings in castings or
galled or stripped.
retaining cages when applicable.
b. Replacement. Replace
all
unserviceable
(2) Installation.
helical-coil and screw thread inserts in the same
(a) Aline bushing, liner, or bushing-type
bearing in casting or retaining cage. Press into
manner, following instructions which accompany
place with a suitable pressing arbor.
helical-coil inserts in the cylinder assembly will
(b) Select proper drill size for installation
of bearing retaining pins. Drill through bearing
be replaced.
and into casting or retaining cage to the proper
d e p t h so that the pin will be flush with the
bearing surface after installation. Drive retaining
pin through bearing and into casting or retaining
cage. Cut off any portion of pin that extends
above bearing.
( c ) Ream or burnish bushing liner, or
b u s h i n g - t y p e bearing to size specified in ap-
p r o p r i a t e overhaul standards table.
(d) Clean repaired parts thoroughly
before assembly or installation.
j. Oil Seals. Replace all oil seals at engine
o v e r h a u l . During field repair, replace oil seal
when thin feather edge is damaged or when seal
has become hard or brittle.
(1) Removal. Press or pry damaged oil seal
f r o m casting or adapter, being careful not to
damage bore in casting or adapter.
(2) Repair. When oil seal bore in casting or
adapter is burred or damaged to a point where
an oil-tight seal is impossible, repair or replace
casting or adapter. Remove slight nicks, burs,
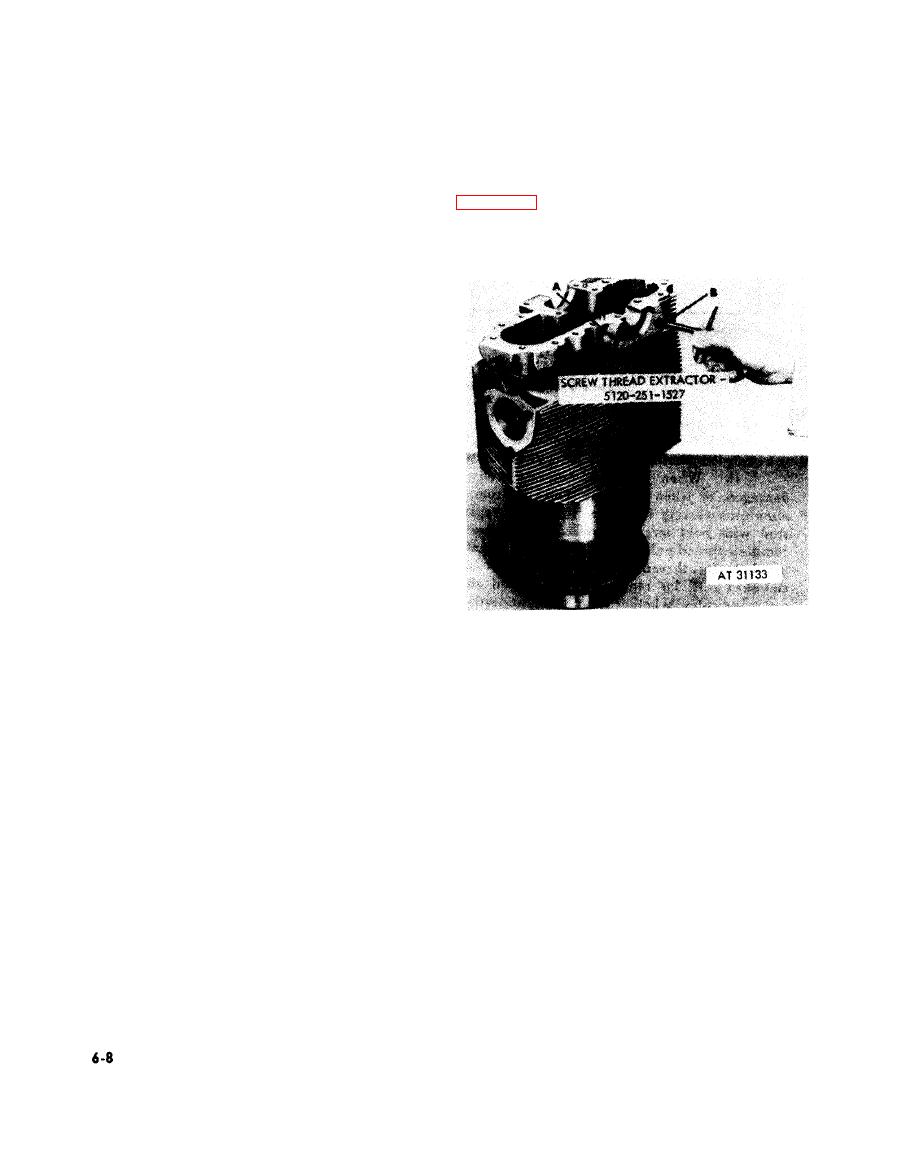
1. Use a diamond-shaped punch is the insert (A) is the
and scratches from oil seal bore in casting or
serrated-teeth type to drive staked, serrated-teeth
a d a p t e r with crocus cloth dipped in dry-cleaning
section of insert from the thread in cylinder casting.
solvent or mineral spirits paint thinner.
2. Install screw thread extractor - 5120-251-1527 into
insert. Remove insert by applying constant pressure
Install new oil seal in bore
(3)
Installation.
while turning extractor (B) counterclockwise until
of casting or adapter.
insert is removed.
R e p l a c e m e n t of Helical-Coil and
T h r e a d e d Inserts
insert from cylinder assembly using screw
a. General. Replace all helical-coil and screw
t h r e a d extractor-5120-251-1527.5
|
|
Privacy Statement - Press Release - Copyright Information. - Contact Us |