 |
|||
|
|
|||
|
|
|||
| ||||||||||
|
|
 TM9-2835-255-34
ACCESSORY GEARBOX CLEANING AND REPAIR (Sheet 23 of 40)
NO. 3 SPUR GEARSHAFT AND BEARINGS REPLACEMENT
7.
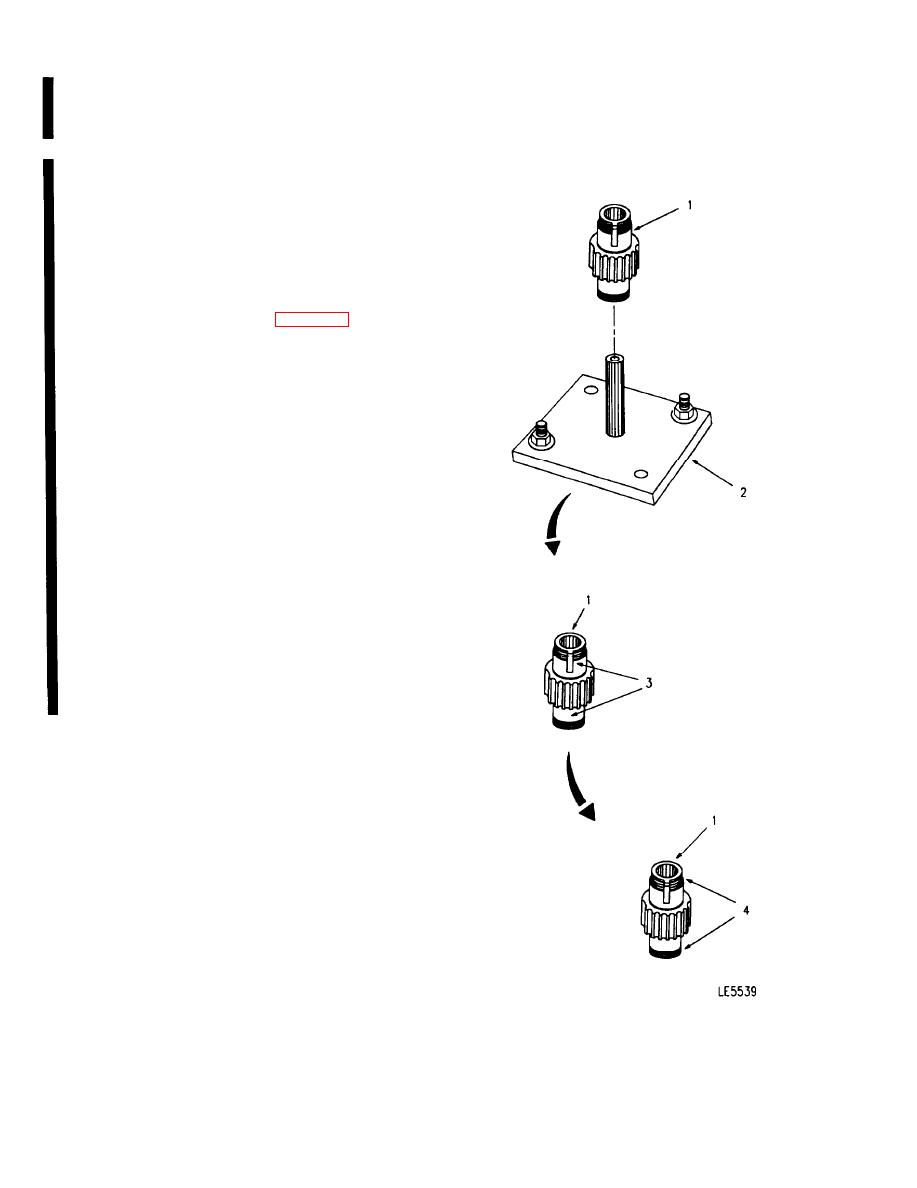
INSPECT SPUR GEAR (1).
a.
Remove spur gear (1) from anti-torque plate
(2).
NOTE
If spur gear (1) was disassembled be-
cause of damage found while inspecting
spur gearshaft assembly (page 7-59),
skip steps b. and c. and replace spur
gear (1).
Check two bearing journals (3) for scoring.
b.
Measure diameter of journals (3) with 0 to 2
inch (0 to 50.8 mm) outside micrometer cali-
per. Check that diameters are 0.9842 to
0.9844 inch (24.9987 to 25.0038 mm). If bear-
ing journals are scored or out of tolerance,
replace spur gear. If OK, go to step c.
Examine threads (4) of spur gear (1) for minor
c.
damage or stripped threads. Repair minor
thread damage by blending with small sharp-
ening stone. If threads are stripped, replace
spur gear (1).
Visually inspect internal spur gearshaft
d.
splines for evidence of wear or damage. If
wear or damage exists, replace spur gear-
shaft.
Go on to Sheet 24
7-68
Change 6
|
|
Privacy Statement - Press Release - Copyright Information. - Contact Us |