 |
|||
|
|
|||
|
|
|||
| ||||||||||
|
|
 TM
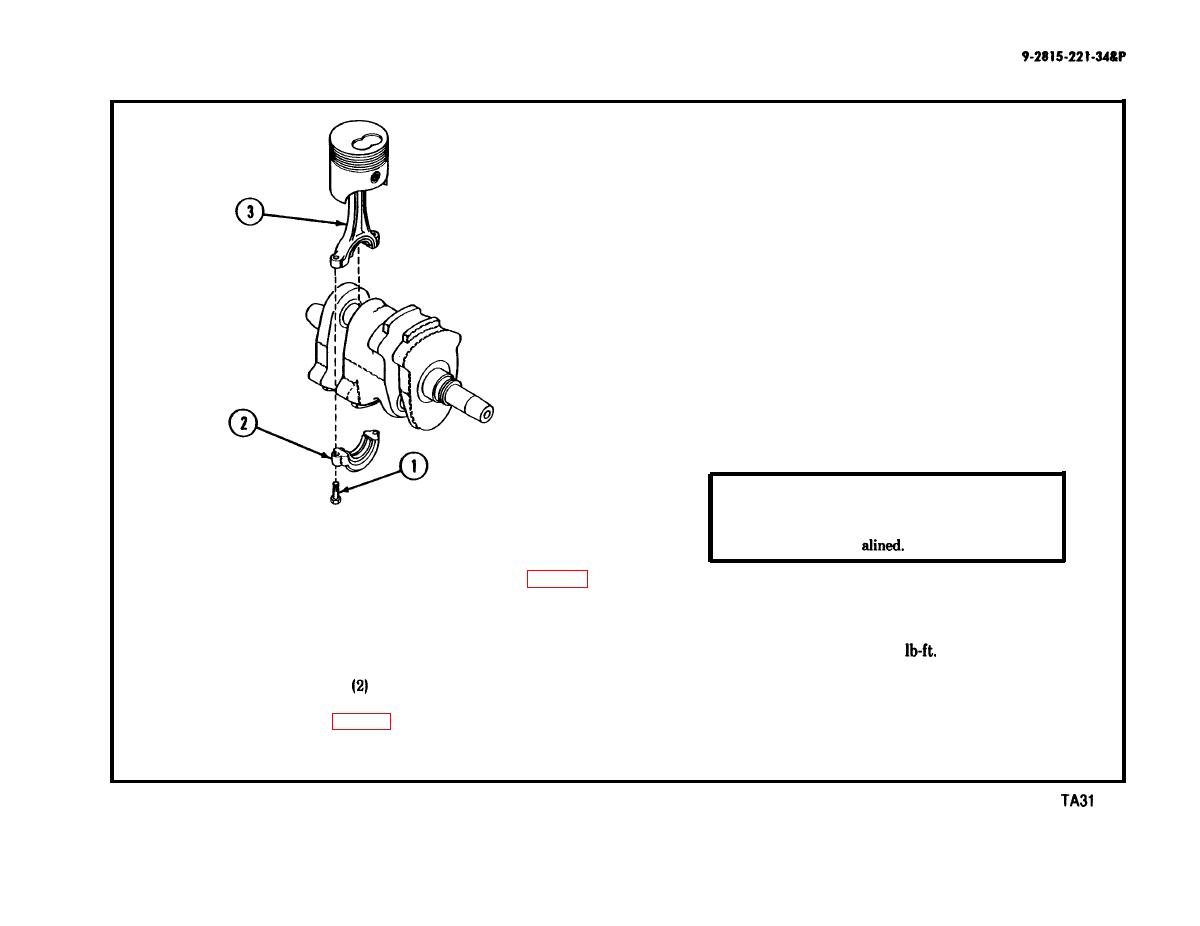
CONNECTING ROD AND PISTON ASSEMBLY REPAIR (CONTINUED)
F
Turn crankshaft so journal for piston to be installed is at
bottom center position.
Place connecting rod and piston assembly into cylinder bore
G
until ring compressor rests on cylinder block surface.
H
Rotate piston and ring compressor so mark on piston top
faces front of engine.
NOTE
Guide connecting rod to prevent damaging
crankshaft journal and to ensure rod is firmly
seated on journal.
I
Using a wood dowel gently tap piston down into cylinder.
Remove piston ring compressor.
J
.
CAUTION
Make sure witness marks on connecting rod and
INSTALLATION
rod cap are properly
K
Secure connecting rod cap and bearing (2) to connecting rod
B Install ring compressor over piston and tighten.
(3) with self-locking bolts (l).
C Remove two bolts(l).
Tighten bolts (1) evenly to 27-29
L
D Separate connecting rod cap
from connecting rod (3).
M
Rotate crankshaft to check for binding.
N
Repeat steps A-M for remaining connecting rod and piston
ing surfaces.
assembly.
1230
|
|
Privacy Statement - Press Release - Copyright Information. - Contact Us |
