 |
|||
|
|
|||
|
Page Title:
Figure 6-143. Removing actuating clutch piston and piston rings (piston actuated clutch) |
|
||
| ||||||||||
|
|
 1. Remove actuating clutch piston (A) from pressure
plate.
2. Carefully remove outer piston ring (B).
3. Remove inner piston ring (C).
Figure 6-143. Removing actuating clutch
Remove
piston and piston rings (piston
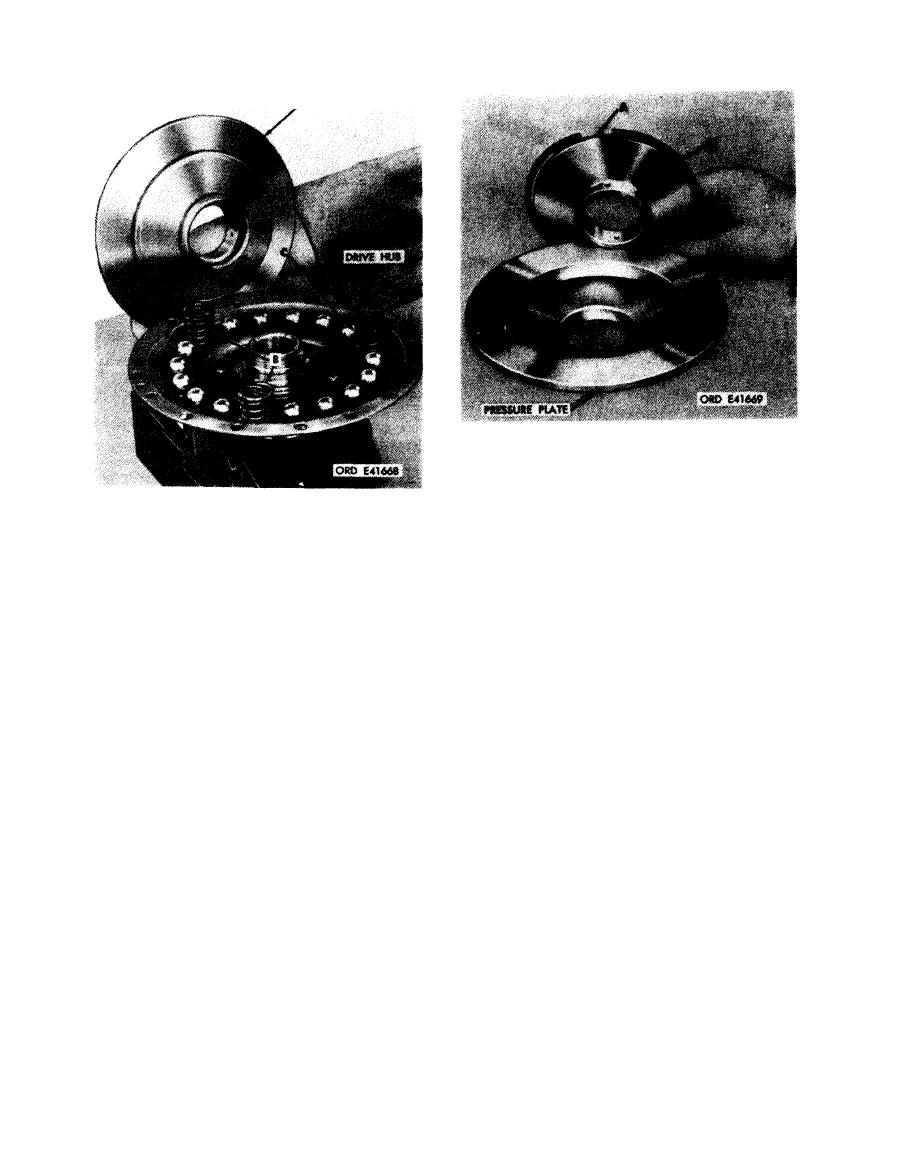
1. Remove clutch pressure plate (A) with assembled
clutch piston from drive hub.
actuated clutch).
2. Remove three clutch springs (B) from hub.
3. Remove 15 clutch balls (C) from hub.
Install
1. Position 15 clutch balls (C) in drive hub.
2. Position three clutch springs (B) in hub.
3. Position clutch pressure plate (A) with assembled
clutch piston from hub.
Figure 6-142. Removing or installing clutch
pressure plate, clutch springs, and balls
(piston actuated clutch).
6-122
|
|
Privacy Statement - Press Release - Copyright Information. - Contact Us |
