 |
|||
|
|
|||
|
|
|||
| ||||||||||
|
|
 TM 9-2520-270-34
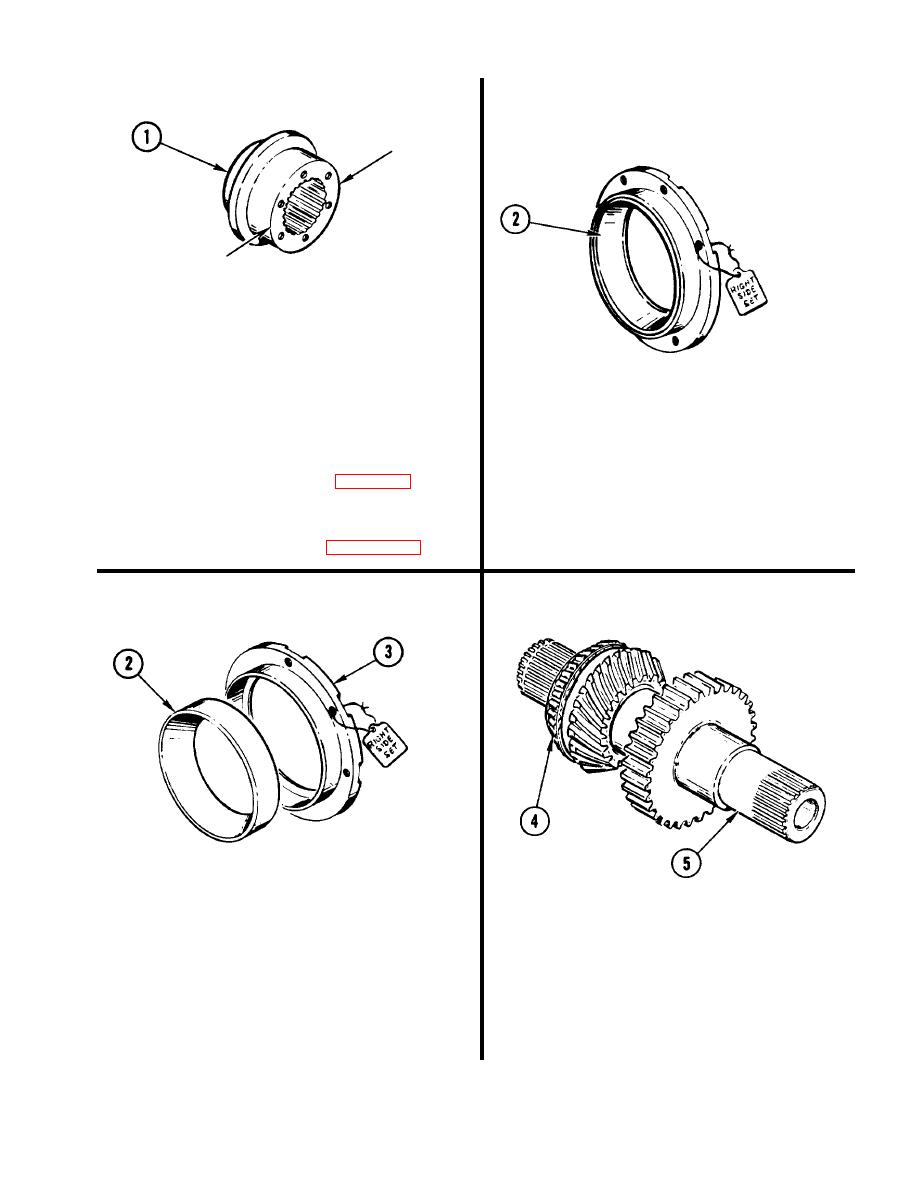
29. CHECK COUPLING (1).
a. Using micrometer caliper set, measure
outside diameter of coupling (1).
b. Replace coupling (1) if measurement
is less than 3.6265 inches (92.113 mm).
31. INSPECT ROLLER CUP (2)
30. INSPECT SPUR GEARSHAFT
a. Inspect cup (2) for damage. See
COUPLING INSERTS. See page 2-5.
TM 9-214.
a. Repair inserts if damaged. See task
b. If cup (2) is damaged, go to step 32.
REPAIR SPUR GEARSHAFT
If not, go to step 33.
COUPLING INSERTS, page 4-354.
33. INSPECT BEARING CONE AND
ROLLERS (4) ON GEARSHAFT (5).
32. REMOVE CUP (2) FROM RETAINER (3)
TAGGED AS "RIGHT SIDE SET".
a. Inspect cone and rollers (4) for
damage. See TM 9-214.
a. Using arbor press and bearing extrac-
tor, remove cup (2) from retainer (3).
b. If cone and rollers (4) are damaged,
go to step 34. If not, go to step 38.
b. Replace cup (2).
GO TO NEXT PAGE
4-99
|
|
Privacy Statement - Press Release - Copyright Information. - Contact Us |