 |
|||
|
|
|||
|
|
|||
| ||||||||||
|
|
 TM 9-2520-270-34
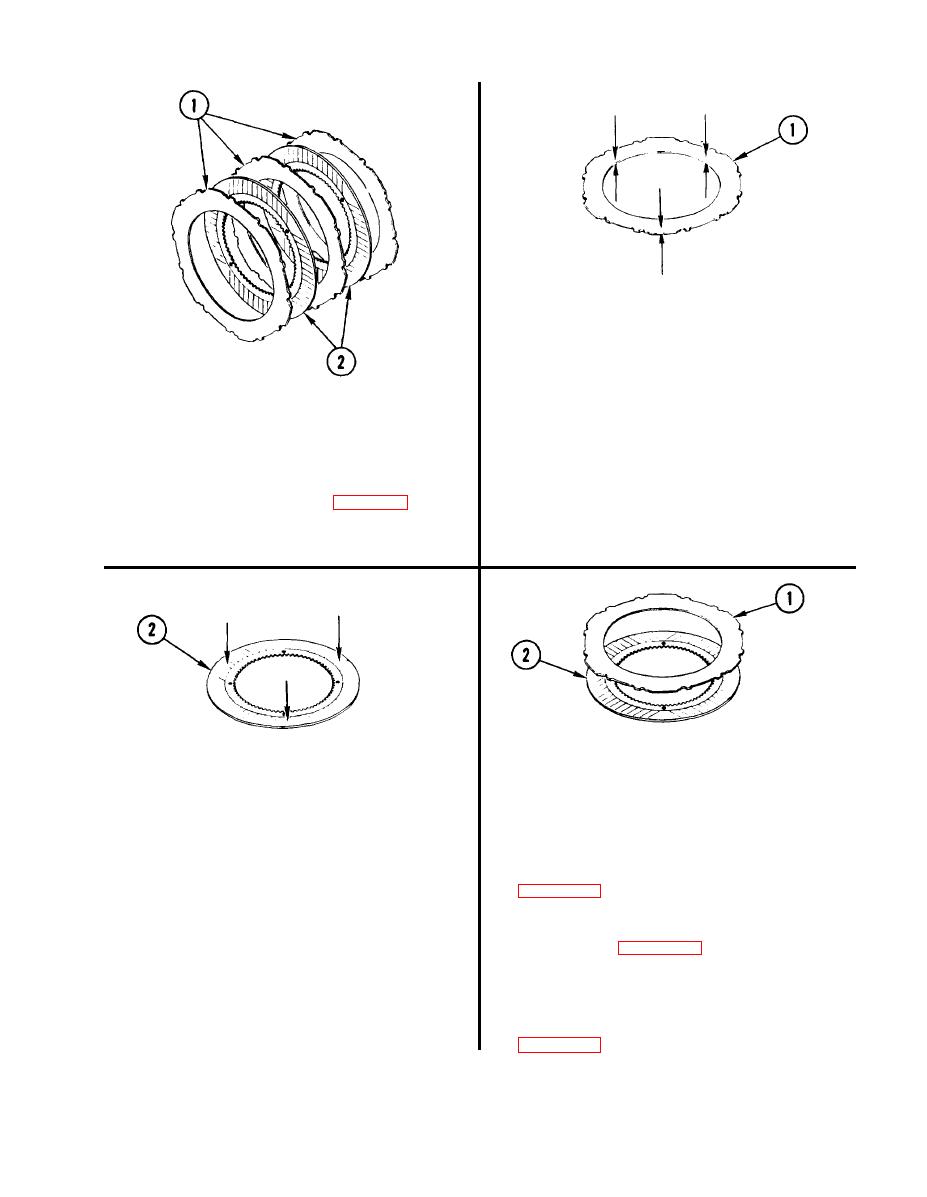
12. CHECK THREE CLUTCH PLATES (1).
a.
Using micrometer caliper set,
measure thickness of each plate (1) in
three places. Replace all five plates
if any measurement is less than
0.156 inch (3.96 mm).
11 INSPECT CLUTCH PLATES (1)
b. Using flat surface and feeler gage,
AND FRICTION CLUTCH PLATES (2).
check plate (1) for warpage. Check
a. Inspect clutch plates (1) and
inside and outside edges in three
friction plates (2). See page 2-5.
places. Replace all five plates if any
warpage is greater than 0.010 inch
b. Replace all five plates if any plate
(0.25 mm).
is damaged.
14. IF PLATES (1) AND (2) WERE
REPLACED, GO TO STEP 15. IF
NOT, GO TO STEP 18.
13. CHECK TWO FRICTION CLUTCH
PLATES (2).
15. REMOVE DISCONNECT CLUTCH
a. Using micrometer caliper set,
ASSEMBLY. See task REPLACE
measure thickness of each plate (2) in
D I S C O N N E C T CLUTCH ASSEMBLY,
three places. Replace all five plates
if any measurement is less than
0.170 inch (4.32 mm).
16. REPAIR DISCONNECT CLUTCH
ASSEMBLY, page 4-82.
b. Using flat surface and feeler gage,
check plate (2) for warpage. Check
17. INSTALL DISCONNECT CLUTCH
inside and outside edges in three
ASSEMBLY. See task REPLACE
places. Replace all five plates if any
D I S C O N N E C T CLUTCH ASSEMBLY,
warpage is greater than 0.010 inch
(0.25 mm).
4-55
GO TO NEXT PAGE
|
|
Privacy Statement - Press Release - Copyright Information. - Contact Us |