 |
|||
|
|
|||
|
Page Title:
Basic Generator Assembly-continued |
|
||
| ||||||||||
|
|
 TM 9- 2920- 224- 34&P
-
-
-
DISASSEMBLY OF THE GENERATOR ASSEMBLY - CONTINUED
-
0008 00
u. Inspect armature shaft splines for wear or damage. Replace armature if splines are defective.
v.
Install a serviceable annular ball bearing on commutator--end of armature shaft and use locally manufactured
armature turning center to mount armature in a lathe. Inspect armature shaft and commutator for eccentricity
with a dial indicator. If the eccentricity exceeds 0.001 TIR, the commutator must be resurfaced provided it will
not be cut below 3.2200 inch diameter limits.
w. Inspect commutator contact surface. A satisfactory condition is indicated by an even, highly burnished,
dark--copper color. If the contact surface is rough, pitted, scored, burned, or coated with hard carbon or oil,
commutator must be resurfaced. If mica is not 0.025 to 0.032 inch below surface of commutator, it must be
undercut to the correct depth.
x.
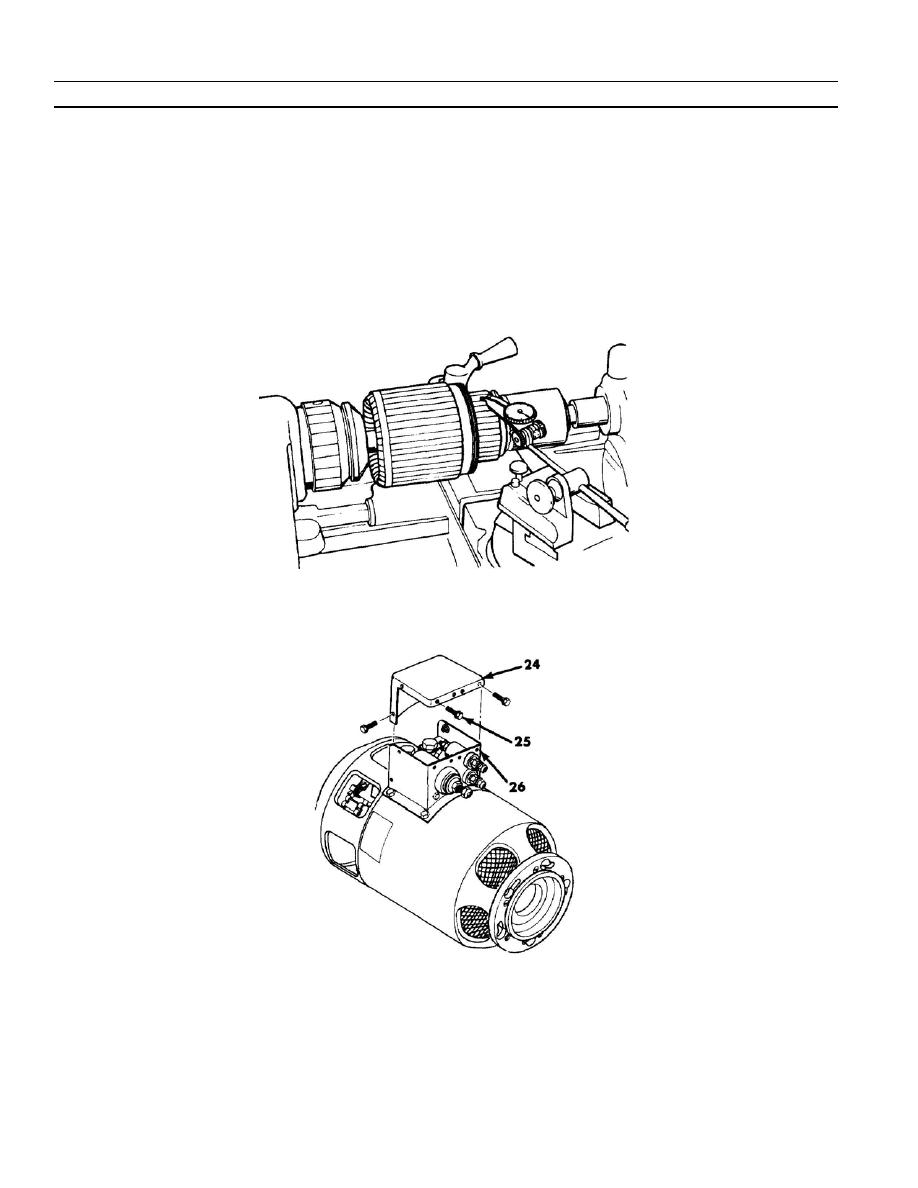
Remove radio interference filter and housing as follows.
y.
It may be necessary to cut sealant from around cover (24). Cut and peel sealant for access to electrical
connections as necessary. Remove six washer screws (25) and tap around edge of cover with a soft--faced
mallet to loosen and remove cover from filter housing (26).
0008 00- 10
-
|
|
Privacy Statement - Press Release - Copyright Information. - Contact Us |
