 |
|||
|
|
|||
|
Page Title:
REMOVE THIRD RANGE RELAY VALVE ASSEMBLY |
|
||
| ||||||||||
|
|
 TM 9-2520-270-34
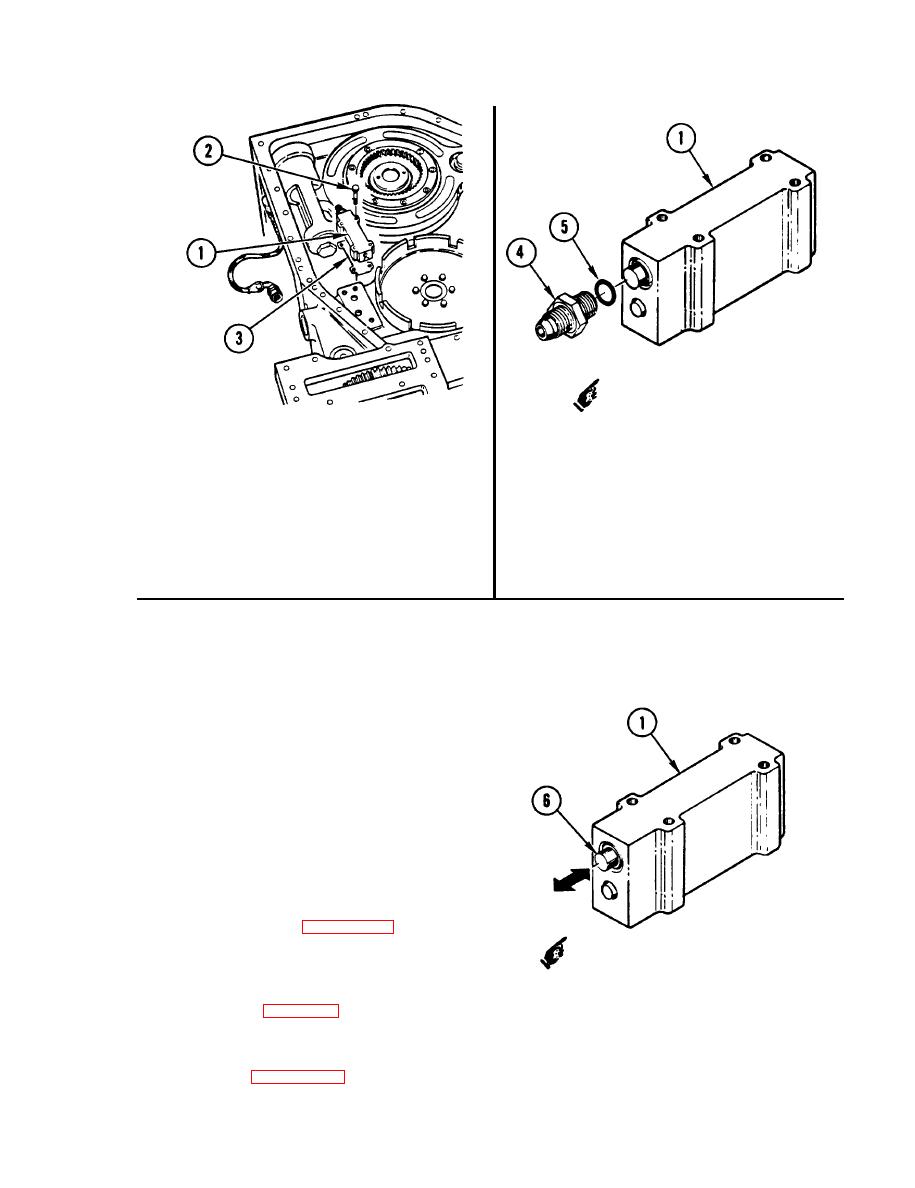
5. REMOVE THIRD RANGE RELAY
VALVE ASSEMBLY (1).
6 . REMOVE ADAPTER (4)
a. Using 3/8-inch drive ratchet handle,
a. Place valve assembly (1) in vise.
extension, and 7/16-inch socket,
remove four screws (2).
b. Remove adapter (4) and preformed
packing (5).
b. Remove valve assembly (1).
c. Discard packing (5).
c. Remove and discard gasket (3).
7 . INSPECT DIRECTIONAL CONTROL
SLIDE (6) FOR FREE MOVEMENT
IN VALVE ASSEMBLY (1)
a. If slide (6) is stuck in valve assem-
bly (1), go to step 8. If not, go to
step 9.
8 . REPAIR THIRD RANGE RELAY
VALVE ASSEMBLY, page 4-506.
9 . INSPECT MAIN HOUSING INSERTS.
a. Inspect assembly, hardware, and
inserts. See page 2-5.
b. Repair inserts, if damaged. See
task REPAIR MAIN HOUSING
INSERTS, page 4-150.
GO TO NEXT PAGE
4-503
Change 2
|
|
Privacy Statement - Press Release - Copyright Information. - Contact Us |