 |
|||
|
|
|||
|
Page Title:
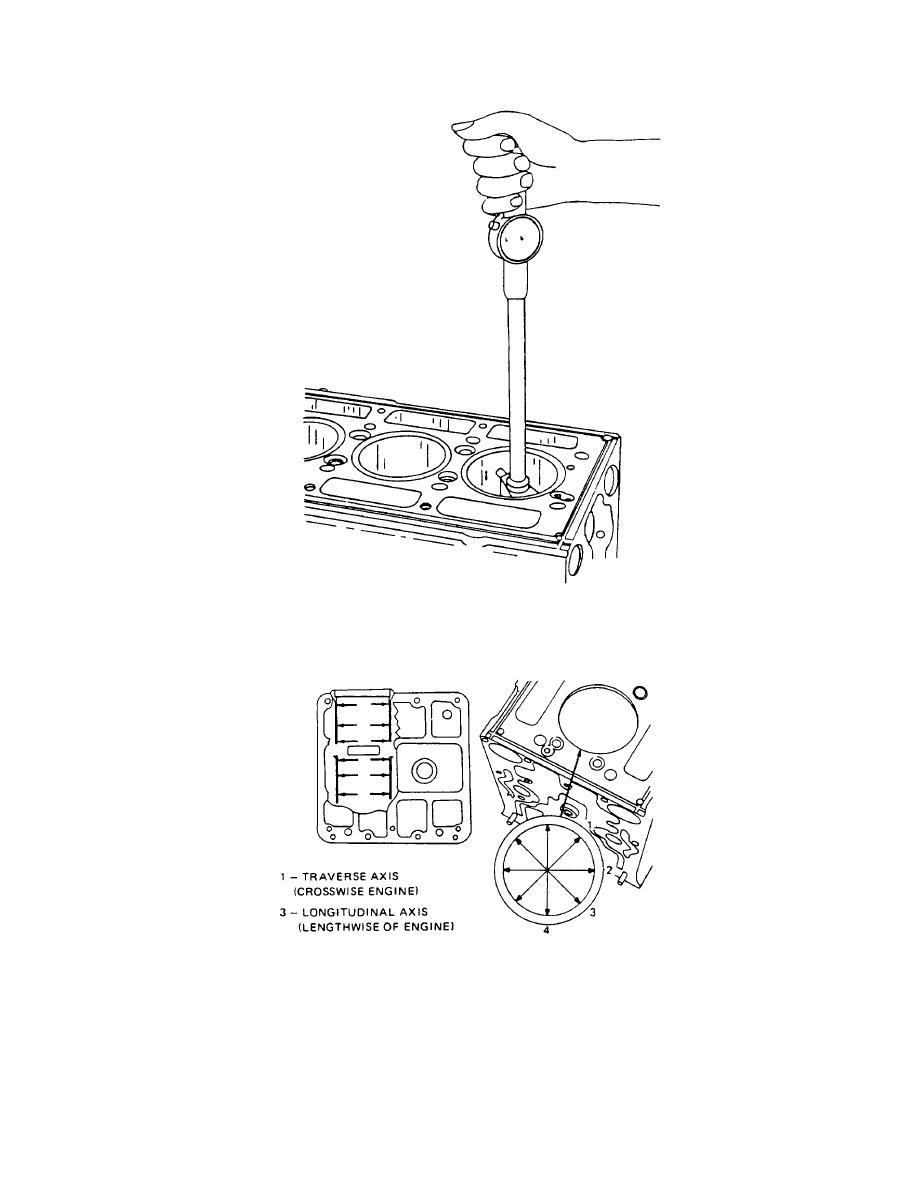
Figure 4-54. Checking Bore of Cylinder Block. |
|
||
| ||||||||||
|
|
 TM 55-1930-208-24
Figure 4-54. Checking Bore of Cylinder Block.
NOTE
Dial bore gage setting master tool J23059-01 may be used in place of the master ring gage.
Figure 4-55. Cylinder Bore Measurement Diagram.
(6) The liner-to-block clearance with new parts is zero to .0015 inc . With used parts, the maximum clearance
h
is .0025 inch. After measuring the block bores, measure the outside diameter of the cylinder liners. Then
determine the block-to-liner clearances. Replace cylinder block if clearance is not correct.
4-73
|
|
Privacy Statement - Press Release - Copyright Information. - Contact Us |