 |
|||
|
|
|||
|
Page Title:
Overhaul of Piston Oiler Nozzle Assembly |
|
||
| ||||||||||
|
|
 6-68.
Rebuild of Fuel Injector
Nozzle
and
Holder Assembly
Refer
to
through
4-24
and
figures 4-163 through 4-165 for rebuild of the
fuel
injector
nozzle
and
holder
assembly.
Overhaul of
Piston
Oiler
Nozzle
Assembly
cleaned without disassembly. To remove nozzles,
position holder in a soft-jawed vise and remove
nozzles.
b. Cleaning, Inspection, and Repair. Refer to
paragraphs 6-2 through 6-4. Make sure oil
passages in holder and oil holes in nozzles are
clean and free of obstruction. Replace nozzles
and holders as necessary, when oil passages and
Disassemble
holes cannot be cleaned of obstructions.
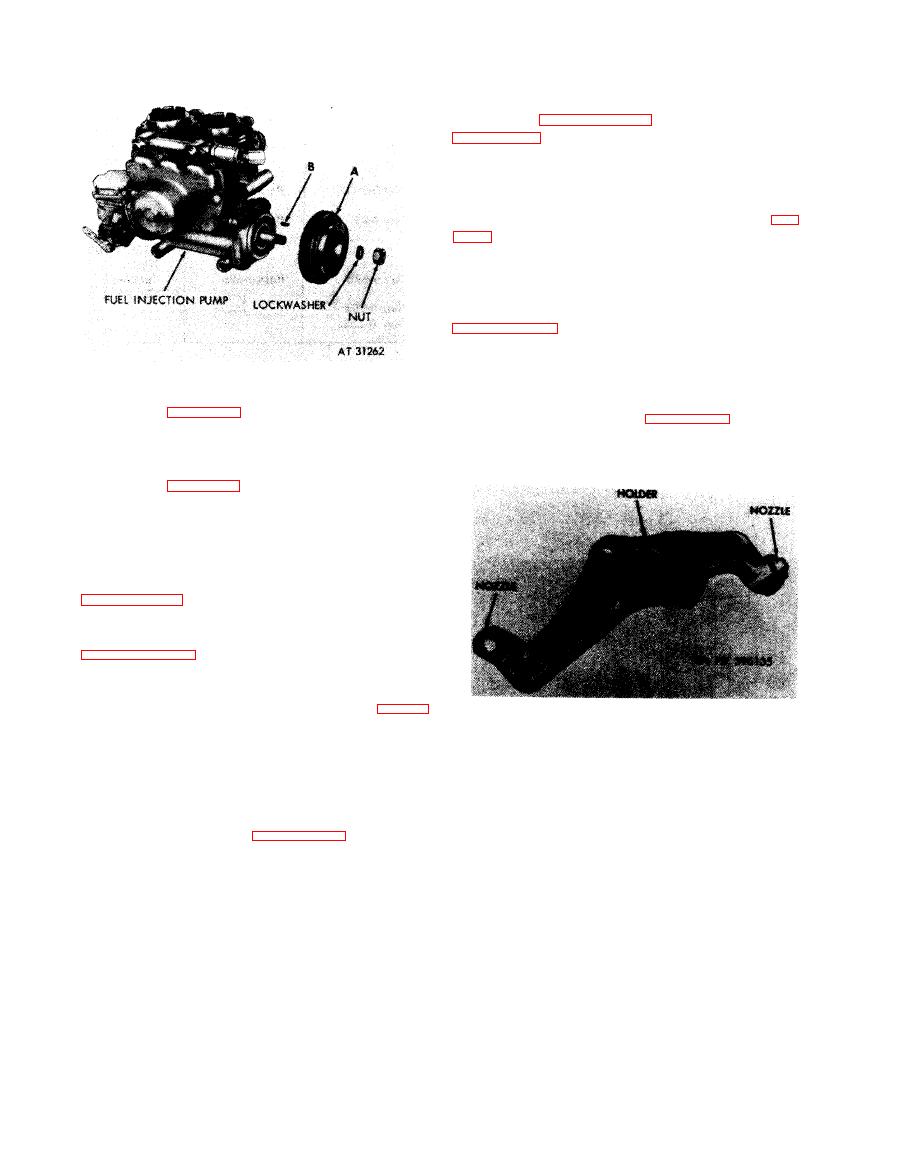
1. Refer to figure 4-60 and 4-62 to remove diaphragm
coupler (A) from injection pump.
the nozzle in the holder if removed. Stake nozzles
2. Remove Woodruff key (B) from pump shaft.
on three flats, 120 degrees apart.
Assemble
1. Position Woodruff key (B) in pump shaft.
2. Refer to figure 4-64 to install diaphragm coupler (A)
on fuel injection pump.
6-253. Disassembling
or assembling
fuel injection pump
drive
diaphragm
coupler.
b. Cleaning, Inspection, and Repair. Refer to
through
6-4,
and
(1)
and
(2),
below.
Drive
splined
coupler.
(1)
Refer
to
(7).
(2) Drive diaphragm coupler. W h e n
cleaning, Diaphragm must not be immersed in
fluids or cleaners. Inspect diaphragm (10, fig. B-
16) for cracks, scratches, or mars on rims or
holder
assembly.
diaphragms.
Inspect
diaphragm
pack
and
flange
coupler (12) keyways for wear or mutilation. If
diaphragm pack is cracked, do not attempt to
repair by welding. Replace unserviceable parts
by
salvage
or
replace
coupler
assembly.
6-216
|
|
Privacy Statement - Press Release - Copyright Information. - Contact Us |
