 |
|||
|
|
|||
|
Page Title:
Figure 6-210. Removing or installing right camshaft assembly |
|
||
| ||||||||||
|
|
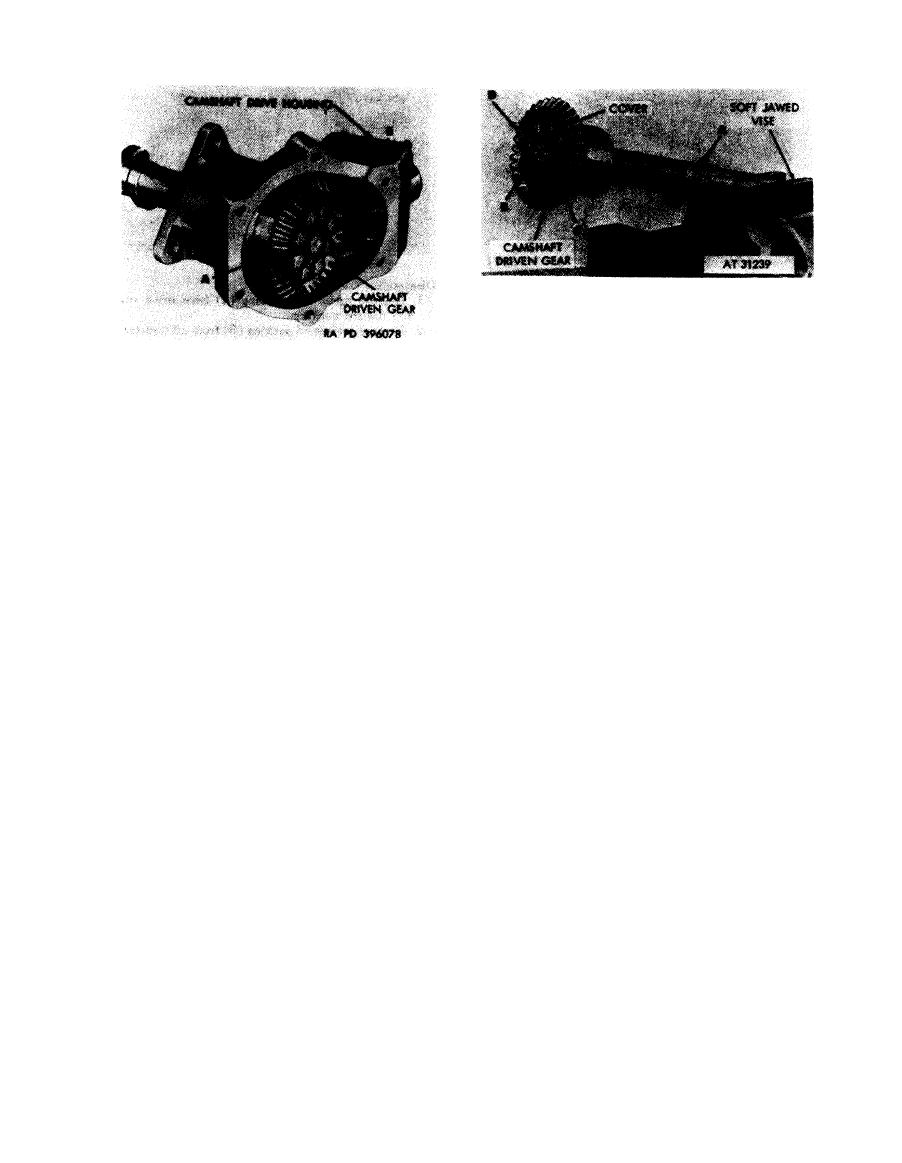 Disassemble
1. Place camshaft (A) assembly in a soft-jawed vise.
2. Cut locking wire and remove eight drilled head bolts
(B).
3. Remove gear cover (C).
Remove
4. Remove camshaft driven gear (D).
Assemble
Note. It will be necessary to move the cam-
1. Place camshaft (A) in a soft-jawed vise.
shaft drive gear away from the camshaft driven
2. Position camshaft driven gear (D) on camshaft.
gear to gain clearance for removal of the cam-
3. Position gear cover (C) on camshaft.
4. Install eight drilled head bolts (B) and install locking
shaft assembly.
wire securing bolts.
1. Remove right camshaft assembly (A) from camshaft
drive housing.
Figure
6-211.
Disassembling
or
assembling
2. Remove camshaft drive gearshaft (B),
camshaft
assembly.
Install
1. Position camshaft drive gearshaft (B) in camshaft
drive housing.
2 . Position right camshaft assembly (A) in camshaft
drive housing.
Figure 6-210. Removing or installing right
camshaft
assembly.
6-176
|
|
Privacy Statement - Press Release - Copyright Information. - Contact Us |
