 |
|||
|
|
|||
|
|
|||
| ||||||||||
|
|
 TM 9-2520-270-34
22. (DELETED)
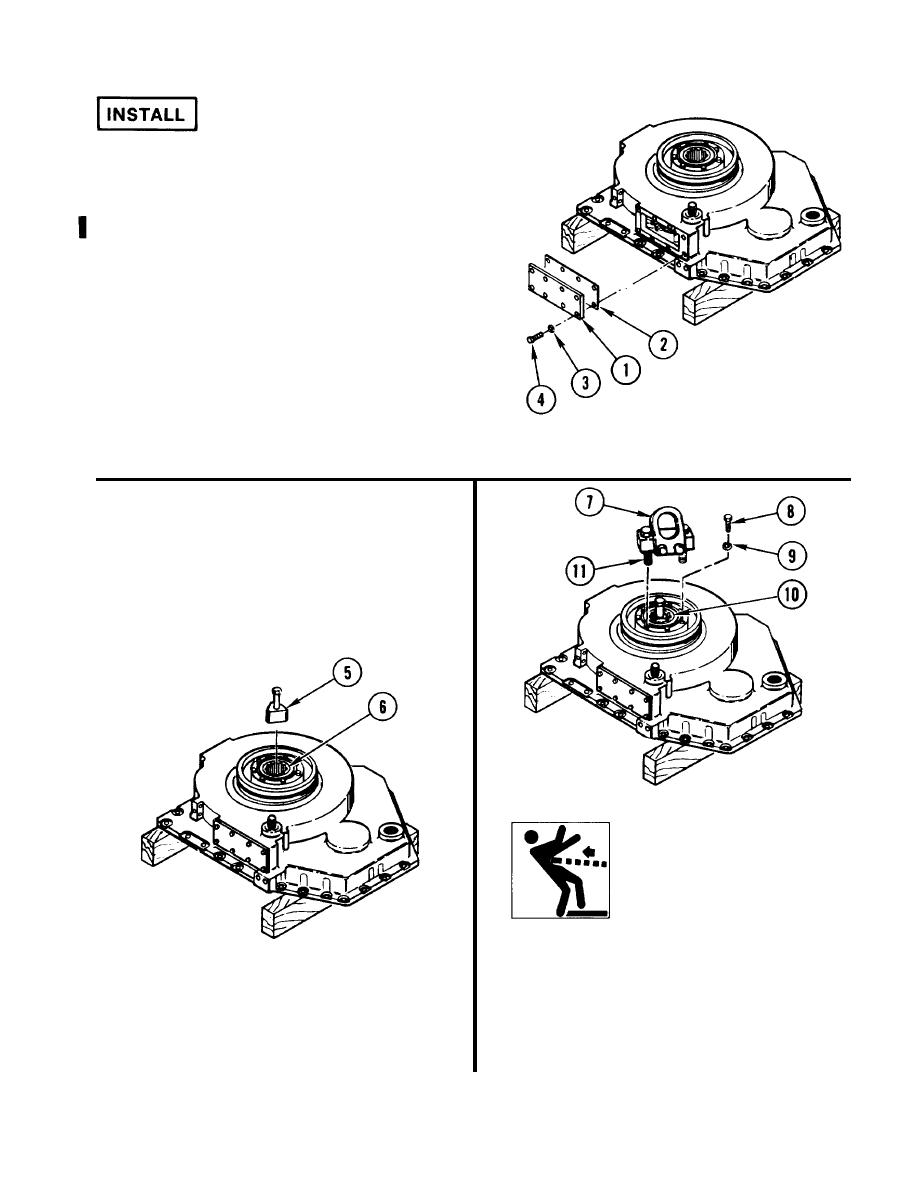
23. INSTALL COVER (1) IF REMOVED.
a. Install new gasket (2) and cover (1).
b. Using 3/8-inch drive brace handle and
7/16-inch socket, install eight new lock
washers (3) and screws (4).
24. USING 3/8-lNCH DRIVE TORQUE
WRENCH AND 7/16-lNCH SOCKET,
TORQUE EIGHT SCREWS (4) TO
75-85 in-lb (86-98 cmkg).
WARNING
Fixture removal assembly must
be Installed in position shown.
Out housing is heavy. im-
proper installation of removal
assembly can cause an uneven
lift and injury to personnel.
26. INSTALL REMOVAL ASSEMBLY (7).
a. Remove two screws (8) and lock
washers (9). Discard lock washers.
b. Put removal assembly (7) on
25. I N S T A L L OUTPUT HOUSING
carrier (10).
INSTALLER (5) INTO SPLINED
OUTPUT SHAFT (6).
c. Tighten two screws (11).
GO TO NEXT PAGE
4-275
Change 1
|
|
Privacy Statement - Press Release - Copyright Information. - Contact Us |
