 |
|||
|
|
|||
|
Page Title:
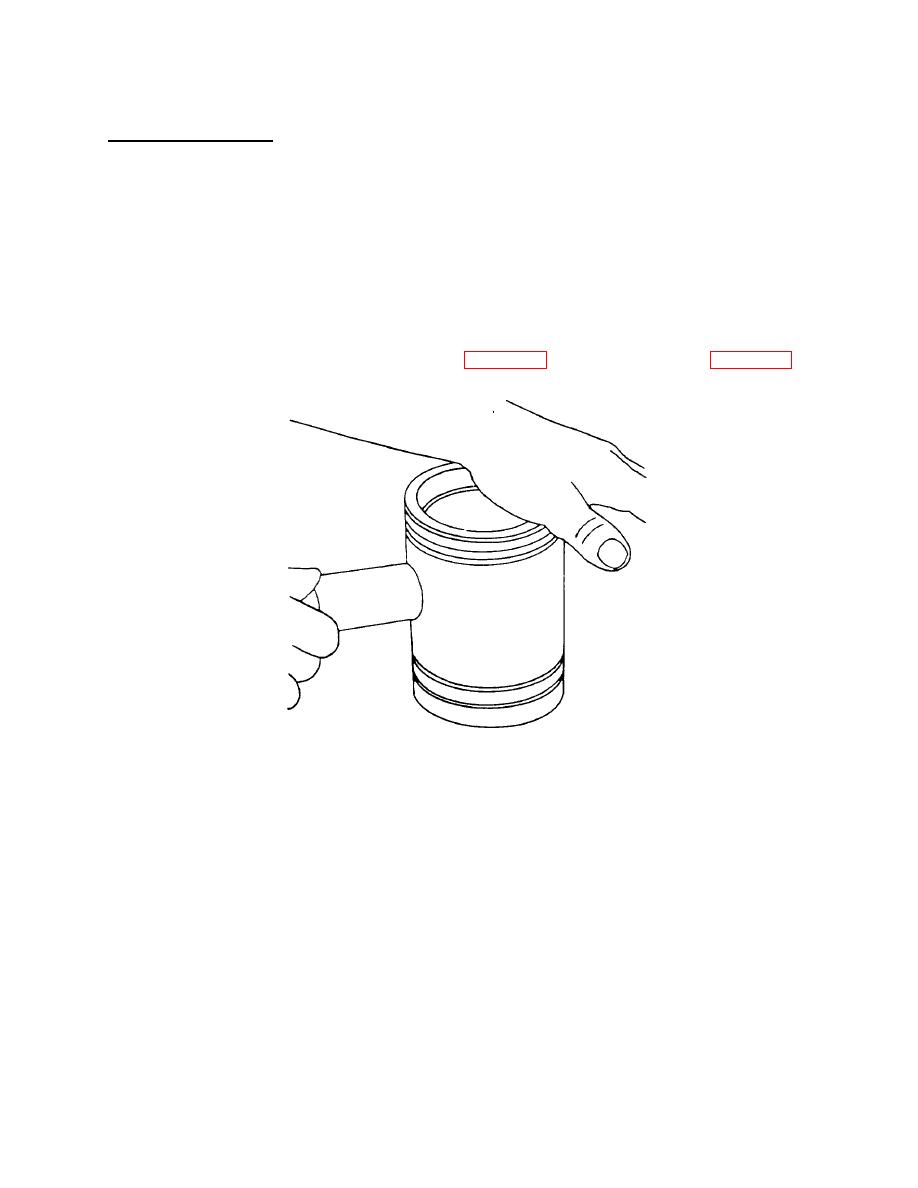
Figure 4-28. Installing Piston Pin |
|
||
| ||||||||||
|
|
 TM 55-1930-208-24
4-11. PISTONS AND CONNECTING RODS - Continued.
f. Reassembly - Continued.
(3) Compress the seal ring with ring compressor J23453 and push the skirt into position on the piston crown.
NOTE
Before completely assembling the piston, check to make sure the seal ring does not stick in the ring
groove. It is imperative for satisfactory engine operation that the seal ring is free in the piston crown
groove. Check the full 360circumference of the groove to be sure there are no tight spots. When the
piston crown, seal ring, and piston skirt are assembled, the skirt should spin freely on the crown (crown top
down on the bench). If the seal ring sticks, remove high spots or nicks in the groove with a flat file. If this
does not relieve sticking, replace the piston crown.
(4) Lubricate piston pin with clean engine oil (item 8, Appendix C) and install as shown in figure 4-28.
Figure 4-28 .
Installing Piston Pin .
NOTE
Line up the piston pin opening in the piston skirt with the bearing (bushing opening in the piston crown to
prevent damage to the pin or bushing.
4-36
|
|
Privacy Statement - Press Release - Copyright Information. - Contact Us |
